Download the App now


October 01, 2021 7 min read
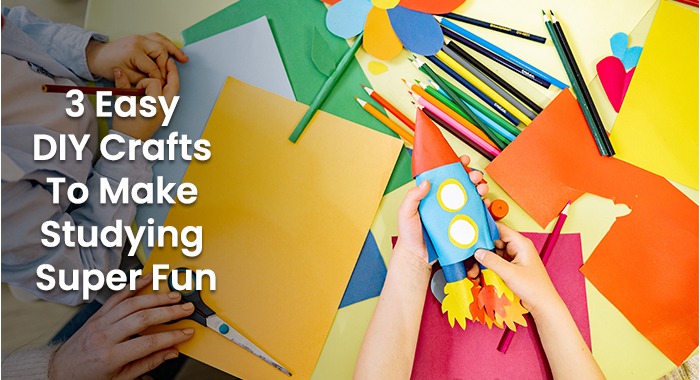
Experts say that hands-on, active learning is the most effective way to teach students. Active learning benefits students of all ages. Providing hands-on tools, such as educational crafts, is a terrific way to help kids explore the educational concepts they’re studying in school.
The following hands-on educational crafts and activities are not only fun, but they also help children solidify educational concepts and remember them throughout life. Use these fun craft projects to learn in a fun way about subjects from math to technology.
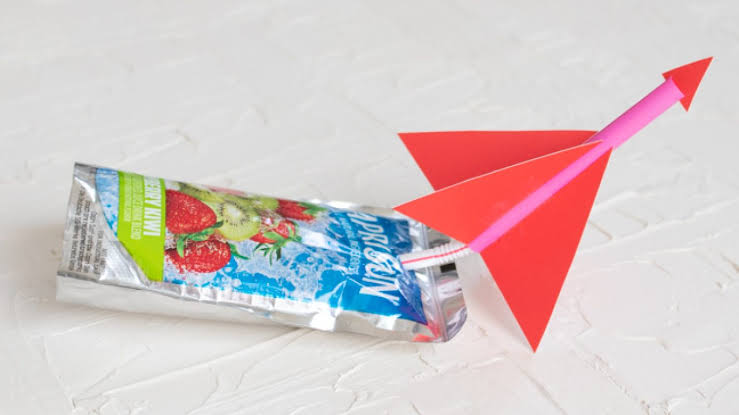
Source: Momtastic
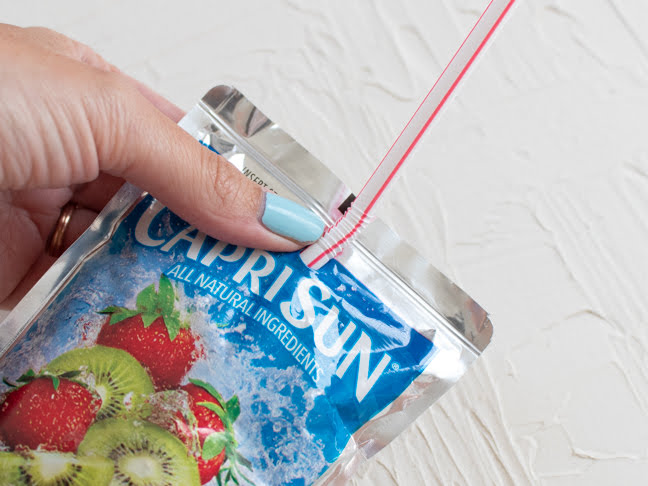
Source: Momtastic
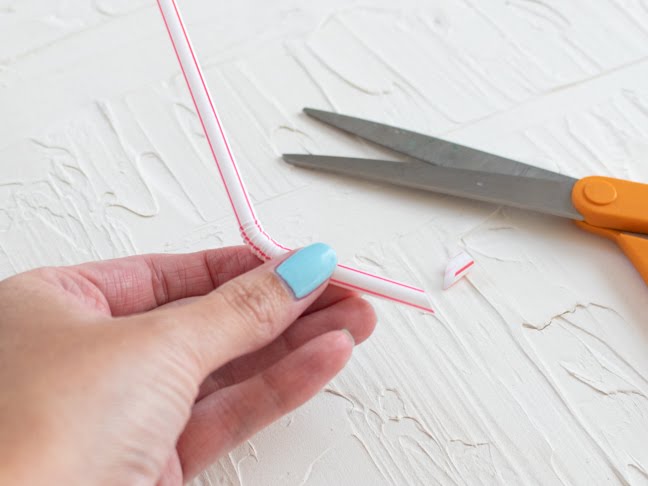
Source: Momtastic
Source: Momtastic
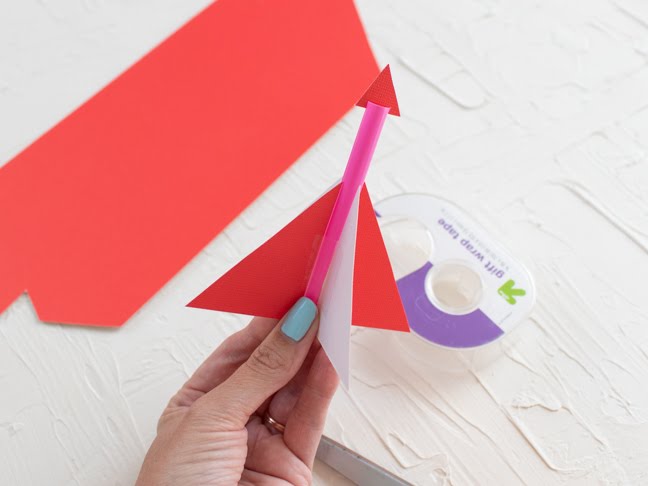
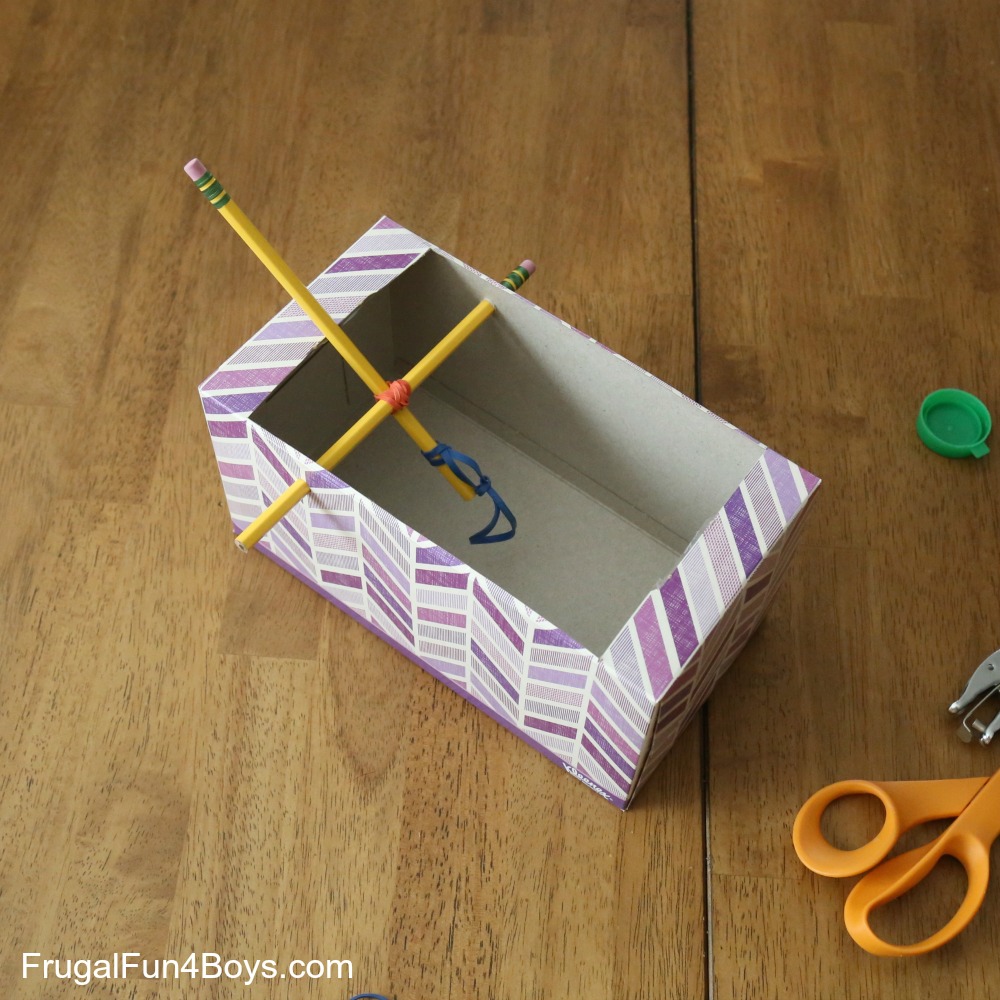
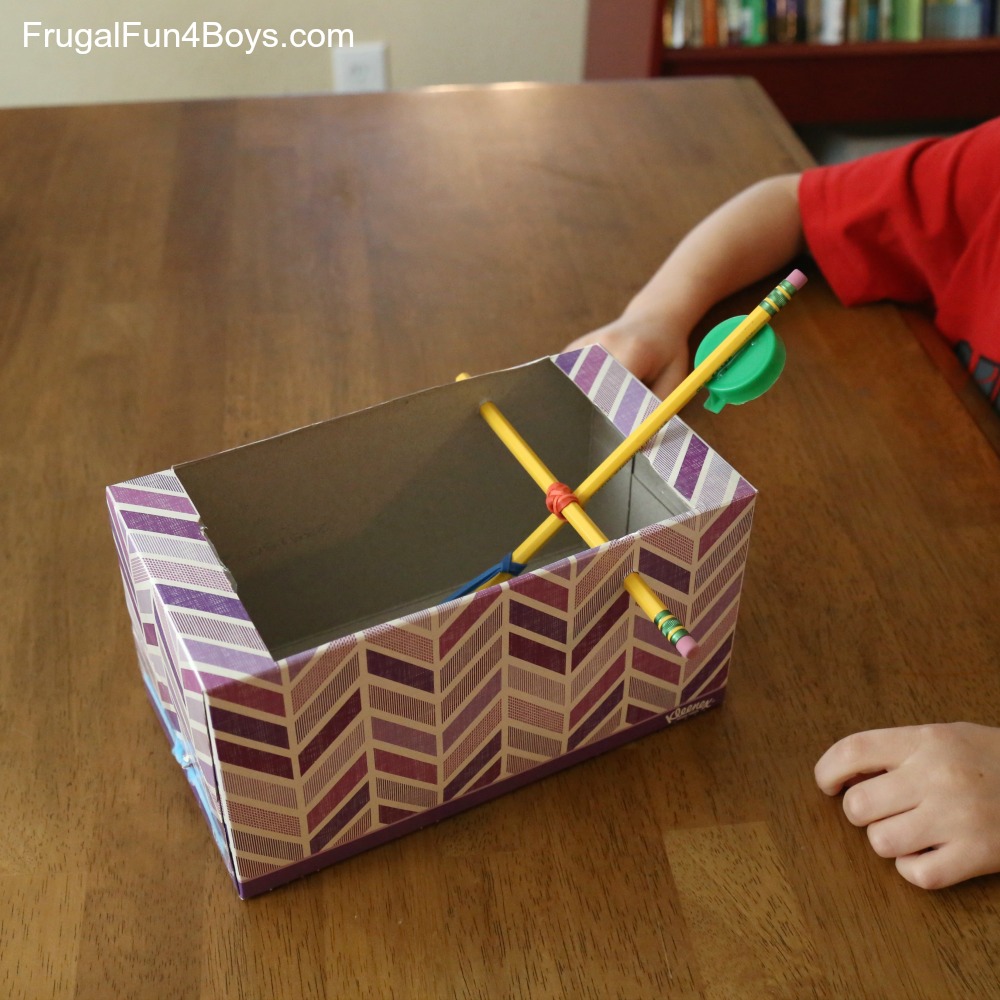
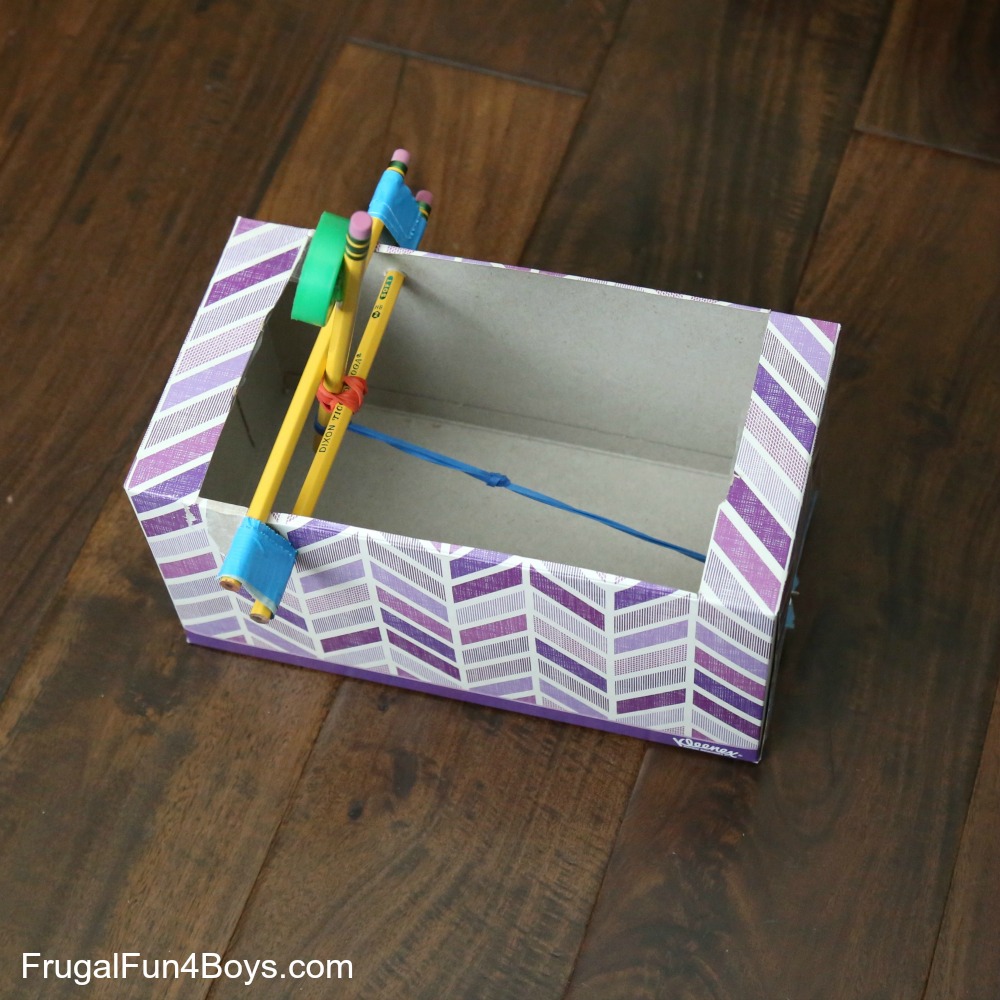
This simple machine uses stored energy (the tension in the rubber bands) to release a projectile (called the payload). Play around with the position of the stopper to get the maximum angle and distance for your launch—and have fun with colors and decorations.
What You'll Need:Hole punch; rectangular box; three unsharpened pencils; a few strong rubber bands; masking tape or glue; jar lid; paper clip
Steps To Create: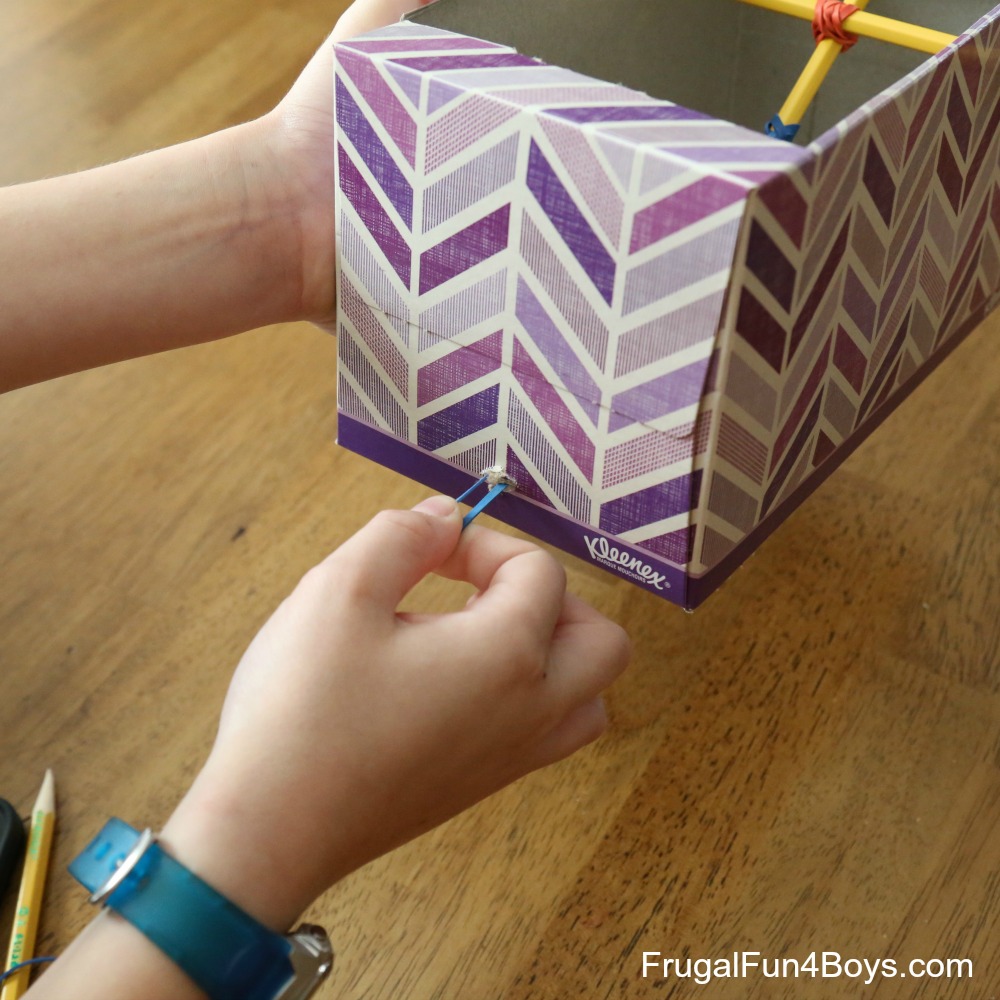
Source: FrugalFun4Boys
Source: FrugalFun4Boys
Source: FrugalFun4Boys
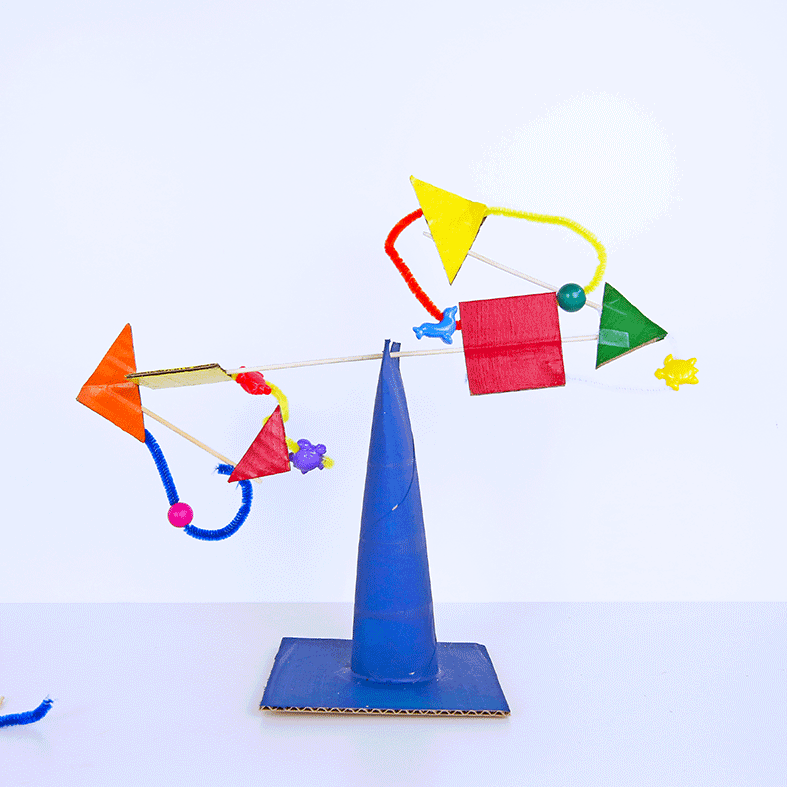
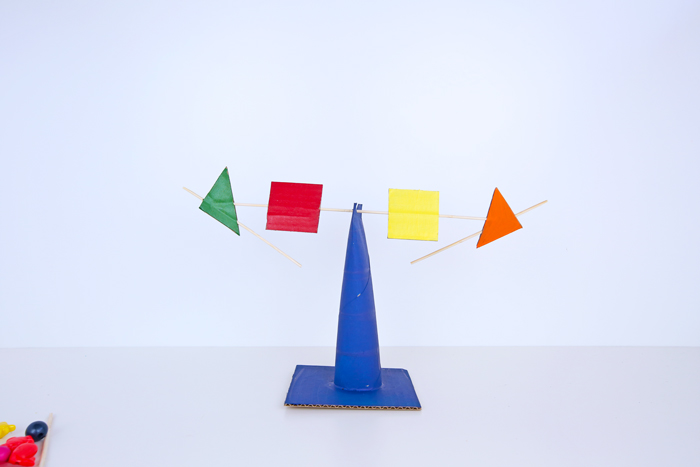
Architecture is a blend of art and science. With this activity, test the builder in you by finding the right spot to balance it.
Source: Babble Dabble Do
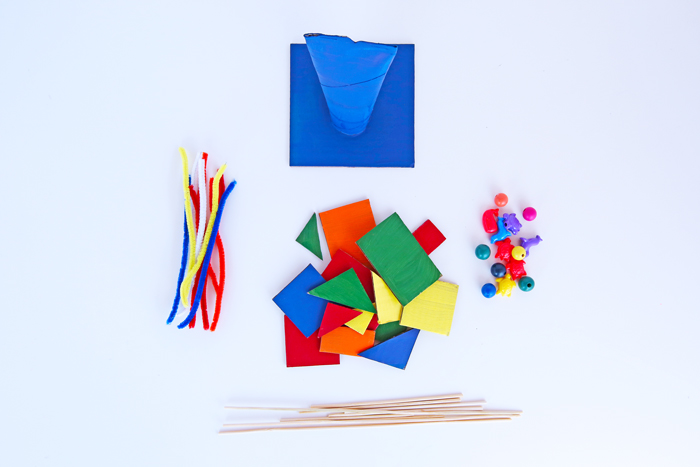
Cardboard; craft paint; paper-towel tube; a 5-inch square piece of cardboard; hot glue; floral wire or pipe cleaners; beads; 12-inch bamboo skewer with sharp ends snipped off.
Steps To Create:Cut the cardboard into shapes; paint. Paint the paper towel tube and a square piece of cardboard. Let it dry.
Source: Babble Dabble Do
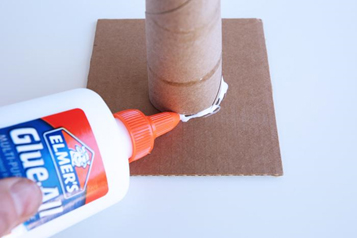
Glue the open end of the paper towel tube to the cardboard square. Let it dry.
Source: Babble Dabble Do
Source: Babble Dabble Do
For more such fun yet insightful DIY activities, stay tuned to our series and unveil some fun projects and crafts that can help you learn concepts by experiencing them.
At Practically, we believe in bringing learning to life and stimulating young minds and seek ways to help kids learn better.
In case you're looking to add some fun to your learning methods, head to the Practically app to uncover an immersive learning experience via lifelike simulations, 3D videos, and AR experiences.
#DIY #craftideas #diyprojectforstudents #5minutecrafts #DIYCrafts #bringlearningalive #3Dvideos #AR #simulations #practically #learnpractically #learningapp
Join Thousands of Other Practically Learners!


Add a comment